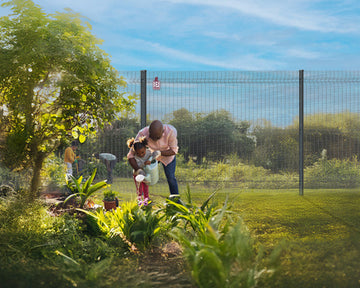
When installing DIY welded mesh fencing, be sure to check out tips and tricks from our experienced team for a super easy fence setup. Using our fencing installation tips, you can speed up the process and look forward to a professional end-result.
Read on to check out some useful mesh fence techniques:
Demarcate Your Perimeter First
Before you start digging holes, inserting posts, and pouring concrete, make sure to clearly and carefully mark out the path of the fence around the perimeter.
By carefully demarcating the path of the fence using pegs to mark the post positions and brightly coloured string to mark the path of the fence, you can avoid time-consuming errors.
Start With the Gate
It’s recommended you start with the gate. This is because the gate is often positioned over an existing path or driveway, so it acts as a useful anchor for the rest of the fence. Moreover, installing the gate first allows you to accurately measure the gate opening and adjust the spacing for fence sections accordingly.
Use Panels to Measure Post Positions
Although you will use pegs and string to measure out the posts in advance, this should be considered a guide. Following up with additional measurements using the actual panels will ensure your fence post holes are dug in exactly the right spot.
By attaching a panel to the last installed post before digging the next hole, you can ensure you don’t accidentally dig holes in the wrong places. By taking the time to ensure greater accuracy, you will minimise time spent on potential errors.
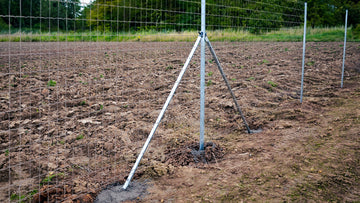
Wait for the Gate Posts to Cure
Although it adds a day to your installation schedule, it is highly advisable that you wait for the concrete holding the gate posts to cure before starting with the rest of the installation. With these posts firmly in place and perfectly levelled, it becomes far easier to ensure the rest of the posts are level too. This is because the subsequent posts are installed with rigid panels to keep them upright.
If the gate posts are level, the rest of the fence will be too.
Here at Betafence, we pride ourselves on facilitating high quality, easy fence setups. Check out our online store for our range of welded mesh fencing for DIY enthusiasts, or contact us for more fence installation tips.
FAQs and Answers
-
How do I prepare my garden for welded mesh fencing installation?
Start by demarcating your perimeter with pegs and string to avoid errors before digging post holes. -
Do I need to install the gate before the rest of the welded mesh fence?
Yes, starting with the gate acts as an anchor and helps ensure accurate spacing for panels and posts. -
What tools are required for DIY welded mesh fencing installation?
You will need a spade, tape measure, level, string line, pegs, concrete mix, and a drill for securing panels. -
How long should I wait for concrete to set before continuing the fence?
It is recommended to wait at least 24 hours for the gate posts’ concrete to cure before installing other posts. -
Can I install welded mesh fencing without concrete?
While possible, using concrete provides maximum stability and longevity, especially for gate posts. -
How do I make sure welded mesh fence posts are aligned?
Use panels to guide post placement and ensure each post is level before moving to the next hole. -
Is welded mesh fencing suitable for uneven ground?
Yes, welded mesh fencing can be stepped along slopes to follow the natural contour of your land. -
Where can I buy high quality welded mesh fencing for DIY installation?
You can purchase durable welded mesh fencing from Betafence’s online store, designed for easy DIY installation.