Securing your property is a priority, and what better way to achieve this than with a palisade fence? Known for its durability and adaptability, the ancient Greeks and Romans first used it, and it's now a popular method for securing properties across the globe.
This blog guides DIY enthusiasts, contractors, homeowners, and property managers through the process of palisade fence installation, ensuring your property's safety and enhancing its aesthetic appeal.
Boost Your Property’s Security and Curb Appeal
Installing a palisade fence is a rewarding DIY fencing project that secures your property and adds aesthetic value. Now you can confidently install a fence that meets your security and style needs. Here’s a few reason why palisade fencing is a great choice for securing your property:
- It is resistant to physical damage and deformation because of its strength and durability, made from galvanised steel.
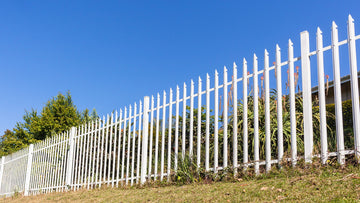
- It is an ideal solution for deterring climbing or breaching attempts, due to its vertical pales that are closely spaced and often feature pointed tops and sharp edges.
- It is a durable investment, resistant to extreme weather, rust, and corrosion.
- It is capable of contouring to landscapes and handling slopes up to 33 degrees.
- It is easy to spot clean with soap and water because it is made from low-maintenance materials and does not require painting or staining.
- It is a good choice for giving your property an elegant or modern feel, which will enhance curb appeal and potentially increase property value.
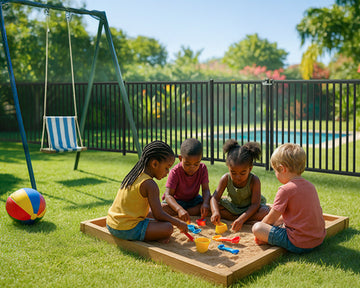
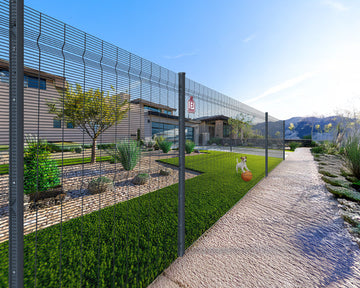
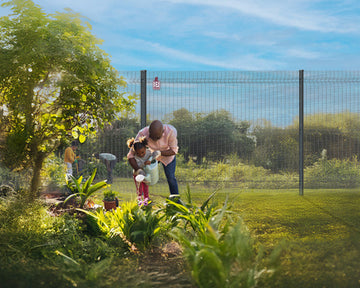
- It is a versatile solution that works for a diverse range of applications - from securing your home and pool to enclosing your garden or business property.
Get the Most Out of Your Palisade Fence Installation
Our palisade fencing is available in a range of options to perfectly match your property's needs and style. When choosing your palisade fence, remember to consider the following factors:
- Measure the perimeter of the fence where it will be installed.
- Use our Fence Calculator to estimate the number of panels and posts needed.
- The depth of the holes should be 600 mm at regular intervals (according to the width of the panels).
- Put the posts into the holes and make sure they are level.
- Secure the posts with concrete and let them set.
- Start attaching the palisade panels to the posts beginning from one end.
- Use the palisade fence standard, corner, end post fixators to secure the panels to the posts.
- Ensure each panel is level and aligned with the previous one.
- Once all panels are installed, inspect the fence for any adjustments.
- Add caps to the posts for a finished look and additional protection.
Tips for a Successful Installation
-
Always wear protective gear during installation.
-
For sloped areas, adjust the installation method to maintain level fencing.
-
Refer to our detailed installation guide on our Installation Tools Page for additional assistance.
Exclusive Offers: Enhance Your DIY Experience with Our Latest Deals
Choose the size and type based on your property’s perimeter and height:
- Available in various styles, and finishes, including colour options to complement your property in 3000 mm width with heights of 1150mm, 1750mm, and 2050mm.
- Complementing the panel sizes, we offer posts in heights of 1.8m (for 1150mm panels), 2.4m (for 1750mm panels), and 2.7m (for 2050mm panels).
Secure, Style, Satisfy — Your DIY Palisade Fence Installation Project Starts Here!
Are you ready to secure your property and increase its value? With Betafence, security is stylish and rewarding. Visit our Product Page to select your materials and begin your DIY fencing project today. Secure, stylish, and satisfying – take the first step towards a safer property.


